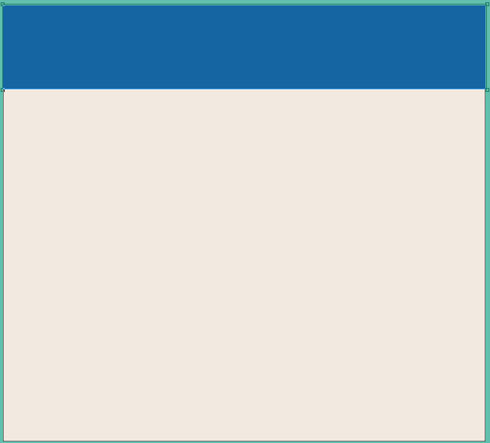
Begin by creating a new file (File>New) of 1262x1140 px and 72 dpi. Select the Paint Bucket Tool (G)
Paint Bucket Tool (G).
 The Paint Bucket tool fills adjacent pixels that are similar in color value to the pixels you click.'); return false">Paint Bucket Tool (G) to fill it with the color #F2E9E0
Select now the Rectangle Tool (U) to represent the primary layer of the web site to be. The color chosen in this case is #1565A2
Download out of Internet a pattern, like the one from below:

Edit>Define Pattern
Then we’ll represent a new layer where we shall apply Edit>Fill, choosing here the earlier saved pattern.

Set the next parameters for the made layer: Blending mode-Linear Dodge (Add)

On this layer we need to make a mouse click on the bottom part of the layers’ palette on Add a Mask option. Here choose the Brush Tool (B)
Brush Tool (B).
 The brush tool is used for making good backgrounds and also on new layers they have different types so that you get a different effect with every brush you use.'); return false">Brush Tool (B) of black color to clean out the lowest part of the site’s header.
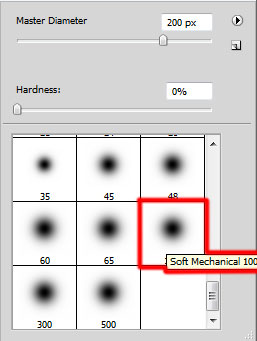

Press Alt button on the same layer and then make a mouse click between the layers containing the site’s header and the pattern’s layer.


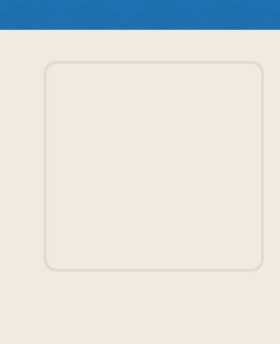
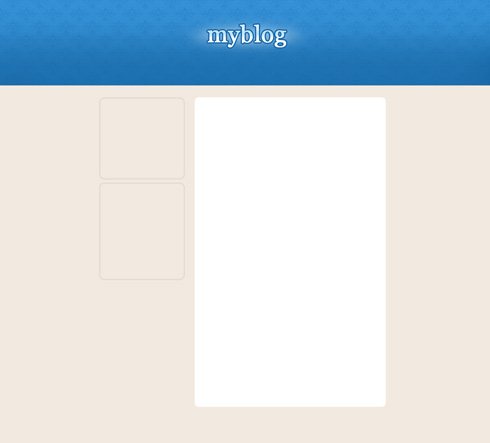
Next we need to represent a central panel, reserved for certain divisions under the site’s header, selecting in this case the Rounded Rectangle Tool (U)
Rounded Rectangle Tool (U).
 To reshape the corners of a rounded rectangle, select the rounded rectangle tool and select the rectangle. Extra selection handles appear inside the rectangle corners. Dragging an inside handle toward the center of the rectangle to make it more rounded; drag it toward the outside of the rectangle to make it less rounded.'); return false">Rounded Rectangle Tool (U) with a radius of 10 px, applying the white color.
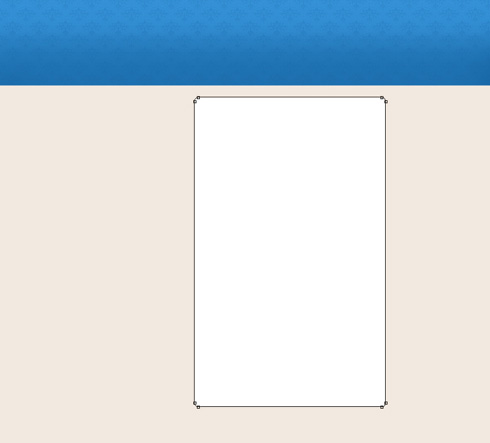
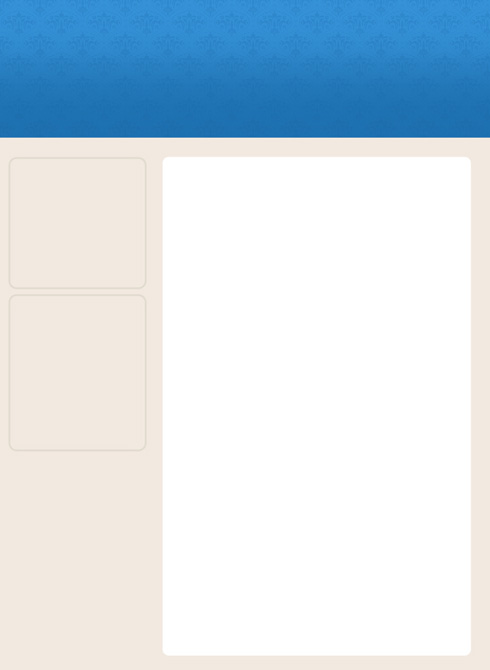
Using the same tool, we need to represent the menu’s panel:
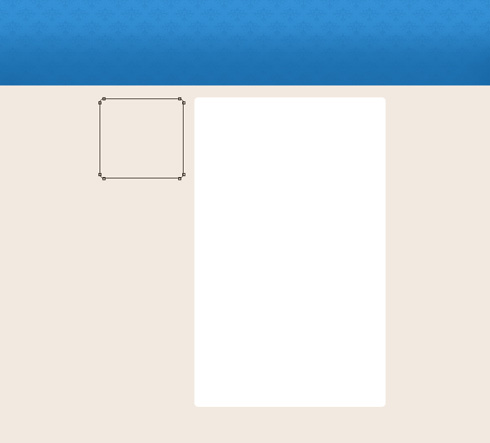
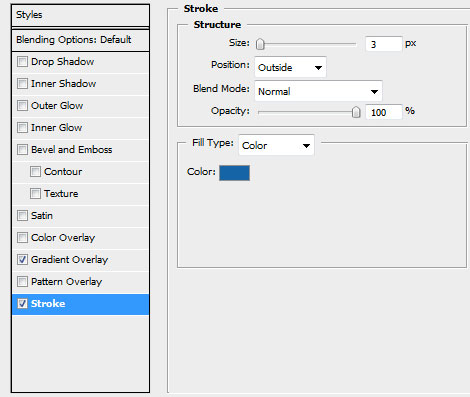
Use the next demonstrated parameters by making a mouse click on the layer we work with on the layers’ palette. Blending Options>Stroke
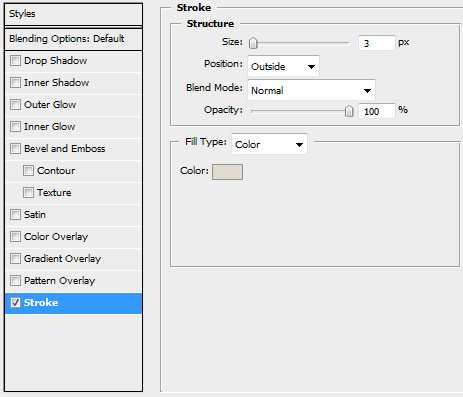
Applying the same tool with the same parameters, try to make a panel under the already made one:
Using the Elliptical Marquee Tool (M), try to make the primary layer of the site’s logotype. This layer needs to be placed on the central part of the header. The zone must be painted with the Paint Bucket Tool (G) and white color.

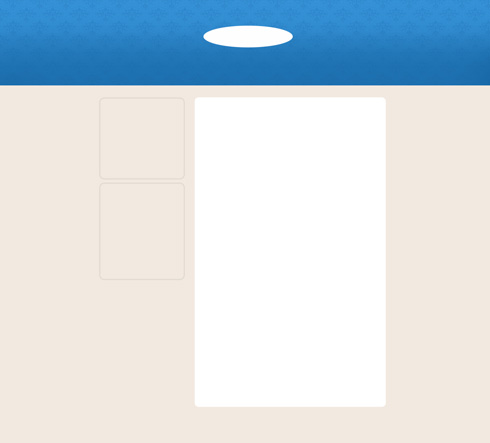
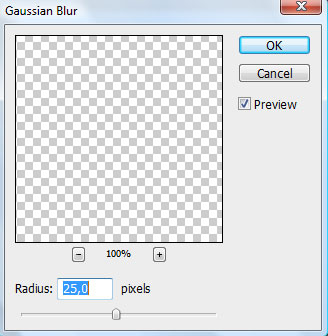
Set for this layer the next chosen option: Filter>Blur>Gaussian blur

Using the Free Transform, try to compress the made effect by its vertical direction: The layer’s parameters: Fill 57%, Blending mode-Pin Light

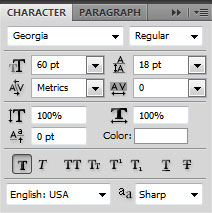
Insert the site’s title:
The layer’s parameters: Blending Options>Gradient Overlay
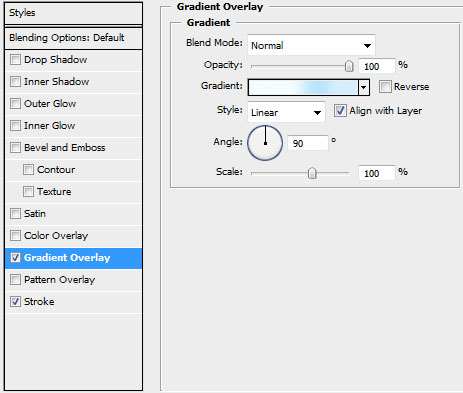
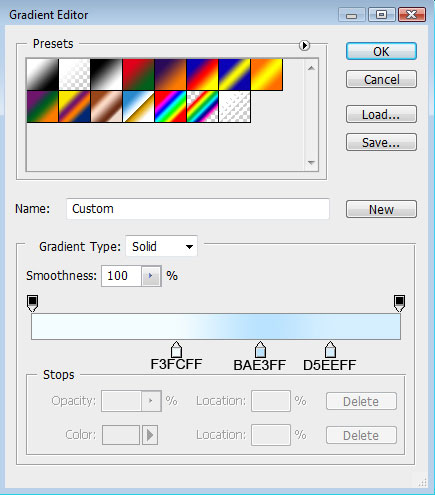
Gradient’s parameters:
Blending Options>Stroke

Download a set of ready to use brushes for Adobe Photoshop, named vector Pack-2.
Create a new layer and apply on it the downloaded brush out of the above mentioned set. The brush’s color is #86B5D7. This pattern should be turned over with Free Transform option.


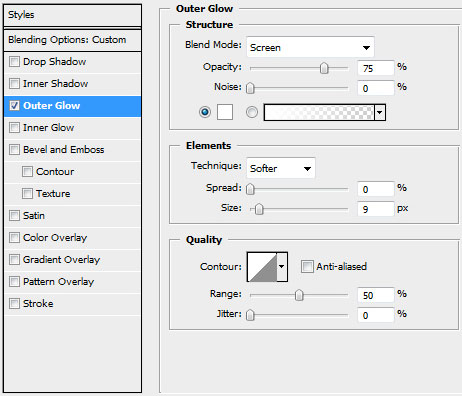
The layer’s parameters: Opacity 70%, Blending mode-Overlay, Blending Options>Outer Glow

Insert on the site’s header the titles for the menu’s buttons:


Next we’ll mark out the active menu’s button, applying the rounded Rectangle Tool (U) with a radius of 10 px. Press Alt button, applying the Rectangle Tool (U) to cut out the unnecessary elements on the bottom part, choosing for this operation the white color.

The layer’s parameters: Fill 20%

Create a new layer and choose for it the standard brush, used for cleaning out the bottom part of the menu on the site’s header. The brush’s color is #F2E9E0


On the next new layer (Create new layer) we’ll use one more time the standard brush for representing the texture of scratches situated on the site’s header zone. The color chosen for this operation is white.


The layer’s parameters: Opacity 13%, Blending Options>Outer Glow


Insert the titles for the sections on the lateral menu:


Now we need to represent a pattern, creating a new file of 3x1 px and 72 dpi. In this case we need to apply the Pen Tool (P)
Pen Tool (P).
 allows you to make lines that change colour and shapes on the project.'); return false">Pen Tool (P) and a brush of 1 px, #A0998F color.
Save it!
Edit>Define Pattern
Next we’ll represent the dividing lines on the lateral menu, selecting the Line Tool (U)
Line Tool (U).
 The line tool is used to draw straight lines on the canvas. It is pretty intuitive, you simply choose the line tool from the toolbox, click once on the canvas to specify the beginning point of your line and then drag the mouse to define the line extending from the starting point.'); return false">Line Tool (U).
The layer’s parameters: Fill 0%, Blending Options>Pattern Overlay


Make five copies of the last made layer and choose Free Transform option to place the copies the same way demonstrated below:

Fill the menu with the inscriptions of the basic options and links.


Applying the Ellipse Tool (U)
Ellipse Tool (U).
 Use the ellipse tool to draw ovals and circles. To draw a circle, hold down the Shift key while dragging. Double-click the ellipse tool to open the Color inspector.'); return false">Ellipse Tool (U), we need to draw dots near each menu’s option, using the color #227CBB
Next we’ll create a window reserved for the login form, applying the Rectangle Tool (U) and white color.

The layer’s parameters: Blending Options>Stroke


Make a copy of the layer containing the window and then use the Free Transform option to place the copy as it is demonstrated below:

Create a new layer under the previous made one to represent a checkbox, choosing for this operation the Pencil Tool (B)
Pencil Tool (B).
 To use the pencil tool, simply select it from the toolbar by depressing the pencil tool icon. When you do so, you can draw on the canvas. Try it out. And don\'t forget to modify your brush size, roundness, angle, etc ...'); return false">Pencil Tool (B) and a brush of 1 px.

Under the checkbox’s space we’ll draw an element reserved for a button, using the Rounded Rectangle Tool (U)
Rounded Rectangle Tool (U).
To reshape the corners of a rounded rectangle, select the rounded rectangle tool and select the rectangle. Extra selection handles appear inside the rectangle corners. Dragging an inside handle toward the center of the rectangle to make it more rounded; drag it toward the outside of the rectangle to make it less rounded.'); return false">Rounded Rectangle Tool (U) (radius of 3 px).
The layer’s parameters: Blending Options>Gradient Overlay

Gradient’s parameters:

Blending Options>Stroke


Insert next the appropriate text on the drawn element:


Write the button’s title:


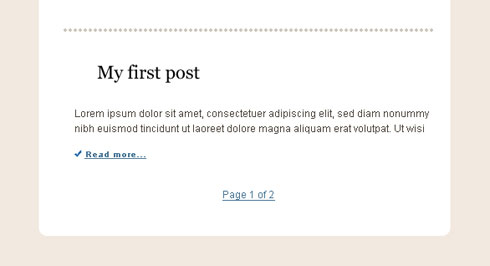
Insert the section’s title on the central part of the panel, the same way you may see below:


Insert the earlier edited pictures we want to have on the site.

Fill the section with the appropriate text:


Let’s represent a link under everything we did till now:


Using the Custom Shape Tool (U)
Custom Shape Tool (U).
 You use the shape tools to draw lines, rectangles, rounded rectangles, and ellipses in an image. In Photoshop, you can also draw polygons and create custom shape libraries to reuse and share custom shapes.
'); return false">Custom Shape Tool (U), it’s possible to represent an indicator near the made link:


Next we’ll represent again a pattern, creating firstly a new file of 6x6 px and 72 dpi. The applied instrument in this case is the Pencil Tool (B)
Pencil Tool (B).
To use the pencil tool, simply select it from the toolbar by depressing the pencil tool icon. When you do so, you can draw on the canvas. Try it out. And don\'t forget to modify your brush size, roundness, angle, etc ...'); return false">Pencil Tool (B) (brush of 1 px) and the color #CDC7BB.
Save it!
Edit>Define Pattern
Select on this stage the Rectangle Tool (U) to draw a dividing line:

The layer’s parameters: Fill 0%, Blending Options>Pattern Overlay


Represent next the content of the second section under the dividing line, leaving a small space. The title of the section, the basic text and the link should be represented with the same writing type we did for the first section on the central panel:

Make a copy of the layer containing the dividing line and then apply the Free Transform

Under the third section’s link we’ll place the page’s marking:

Represent an icon on the left side of the sections’ titles. Begin working by creating the primary layer and then select the Rounded Rectangle Tool (U)
Rounded Rectangle Tool (U).
To reshape the corners of a rounded rectangle, select the rounded rectangle tool and select the rectangle. Extra selection handles appear inside the rectangle corners. Dragging an inside handle toward the center of the rectangle to make it more rounded; drag it toward the outside of the rectangle to make it less rounded.'); return false">Rounded Rectangle Tool (U) with a radius of 3 px and the color #2381BE
Using the Custom Shape Tool (U), we’ll represent several pointers, applying the color #F2E9E0


Getting the necessary result is possible if combine in a group all the layers composing the section’s indicator (press Ctrl button to mark out all the layers we need and then hold on the left mouse’s button while taking down the marked layers on Create a new group option). Make four copies of the group and select after that the Free Transform option to situate the copies as it is indicated below:

On the bottom part of the site’s page we’ll represent a site’s footer, choosing for this operation the Rounded Rectangle Tool (U) with a radius of 10 px and the color #2393D5.


Make a copy of that layer we’ve used it on the very beginning as a pattern for the site’s header. Select after that the Free Transform option to minimize the copy and place it above the layer on the bottom part of the site.

Press Alt button and make a mouse click between the texture’s layer and the layer on the bottom part of the site’s page. Select the next shown parameters for the layer: Blending mode-Difference

View full size here.